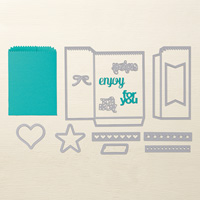
I can't stop making these little bags. This one took a bit of fussing but it was very worth it.
And you probably can't see very well, but the leaves and flowers are just covered with Dazzling Diamonds! This particular version I used Flirty Flamingo paper for the rose. I also like to use Very Vanilla with Flirty Flamingo sponging on the edges for a more delicate flower.
Here's a downloadable PDF for the instructions - Instructions - sorry, not for the faint of heart.
A. Rose
a.
From: Mary Ellen Stites blog where she shows how to make 3D flowers
using Stampin’ Up! punches
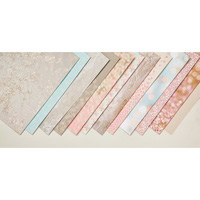
b. Need: Very
Vanilla paper, Flirty Flamingo ink, Dazzling Diamonds glitter, Bone Folder,
Sponge Dauber, Pansy punch, Petite Petal Punch, Stampin’ Pierce Mat, Simply
Scored tool, Stampin Spritzer, Liquid Multipurpose Glue, Fine Tip Glue Pen
c.
Punch out 3 Pansies and 3 Petite Petals from Flirty
Flamingo or Blushing Bride paper
d. Using
Sponge Dauber and Flirty Flamingo ink, sponge edges and center of flowers,
doing both sides of the Petite Petals and one side of the Pansies.
e. Spritz well
with water the back of a flower and then pounce (hard) on the petal edges of
the back side of one flower, then turn over and make a line down the center of
each petal. You may have to use a bone folder to bend the tips back and cup the
flower petals in. Repeat for all flowers.
f.
While wet, glue together with multipurpose glue,
starting with the small flowers and working out. Shape to make it pretty.
g.
With Fine Tip Glue Pen, make little lines of glue
along the flower edges, then pour on the Dazzling diamonds and shake off. Let
dry
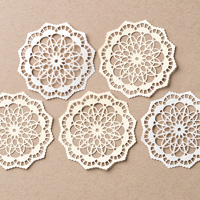
B. Doily
a.
Need: Doily, Sponge Dauber, Sahara Sand ink
b. Use Vanilla
side up
c.
With Sponge Dauber, sponge Sahara sand to make it a
little more antique-looking.
d. Fold in
half
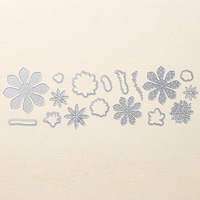
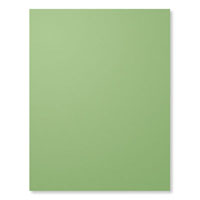
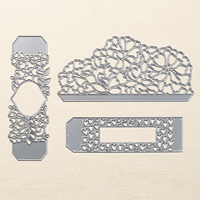
C. Leaves
a.
Need: Rose Wonder die, Pear Pizzazz paper, Dazzling
Diamonds glitter, Fine Tip Glue Pen, Forceps, Big Shot
b. Cut two
stems from Rose Wonder dies using Pear Pizzazz paper.
c.
Draw lines on it with Fine Tip Glue pen, sprinkle with
Dazzling Diamonds. Set aside to dry.
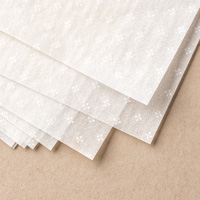
D. Glassine
Bag
a.
Need Sending Love Glassine Sheet (1), Mini Treat Bag
Thinlets, Big Shot
b. Cut bag
from one sheet of Sending Love Glassine Sheets using Mini Treat Bag Thinlets
and the Big Shot making sure the right side is up and both pieces are
right-sides up. You may need scissors to completely cut the bag out. Dryer
sheets help a little.
c. Glue with snail. Press the folds. It’s easier to put
the front side down and glue the right half to the front, matching the zig zag
top. Then glue the middle and finally the bottom.
d. Fold down
1” in the front.
E.
Ribbon
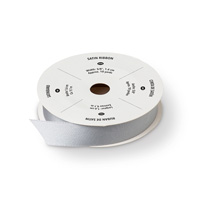
a.
Need: Baker’s Twine, Lace Ribbon
b. Cut 15“ lace ribbon and make into a 2-loop bow,
tie with 4”white Baker’s Twine.
F.
Tag
a.
Need: Very Vanilla Paper, Sahara Sand Ink, Sponge
Dauber, Scalloped Tag Topper, Tip Top Taupe Ink, So In Love Stamp Set
b. Cut 1-1/4”
wide x 2” long strip of Very Vanilla
paper. Sponge with Sahara Sand ink.
c.
Punch tag with Scalloped Tag Topper, being careful to
center the paper in the tag.
d. Stamp “Just
for You” with Tip Top Taupe.
G. Assemble
bag.
a.
Need: Glue Dots, candy or cookie
b. Put candy
or cookie inside.
c.
Glue on the folded doily
d. Glue on lace,
3 circles of gold thread, rose, 2 leaves, and tag.