Tuesday, December 30, 2014

Perpetual Birthday Calendar - Photos & Hints

I finished my own version of the Perpetual Birthday Calendar today. Here's some pictures of it! First, January, on the clipboard with the box it comes in.

I added a few key dates in with some of my stash of greetings stamps. February - May:


June-September
October-December

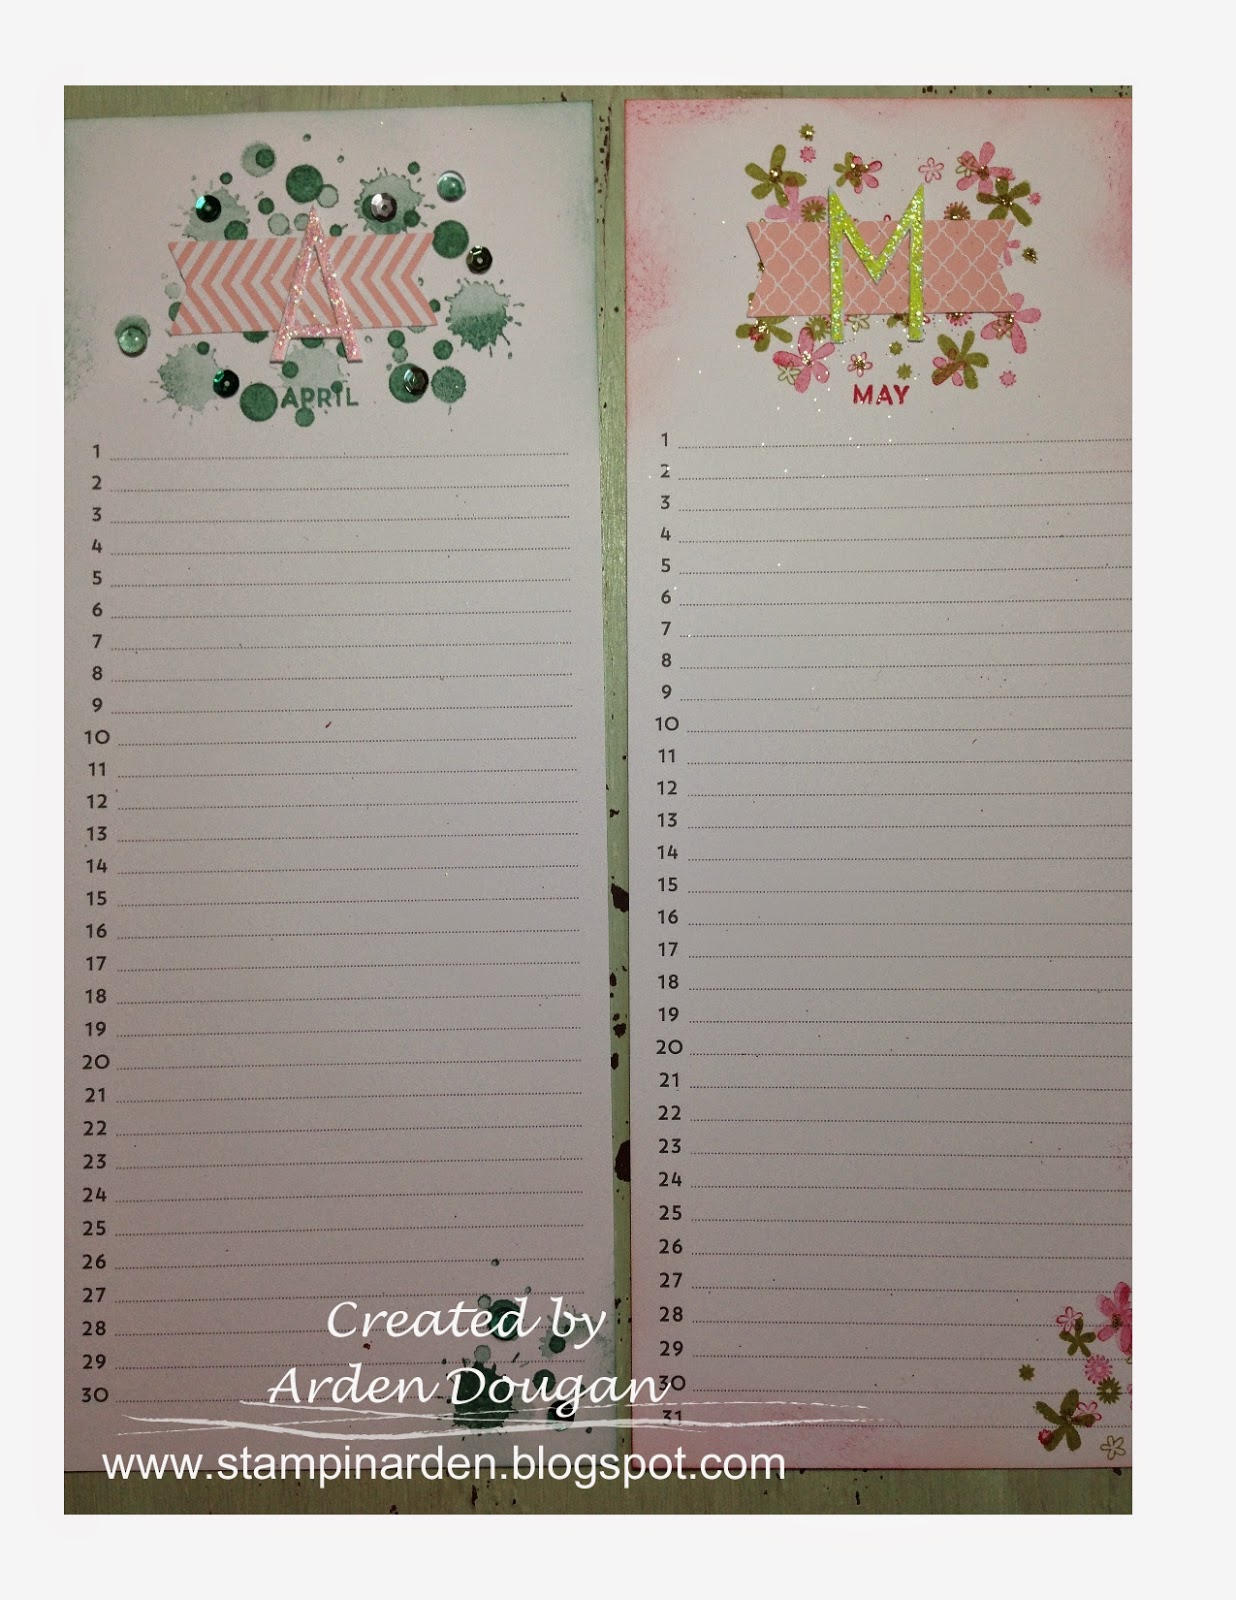
This new kit is available starting January 6 - or hey, just sign up for my class by December 31 and make your own! It's featured in the Sale-A-Bration catalog.

Some Hints on how to make this:
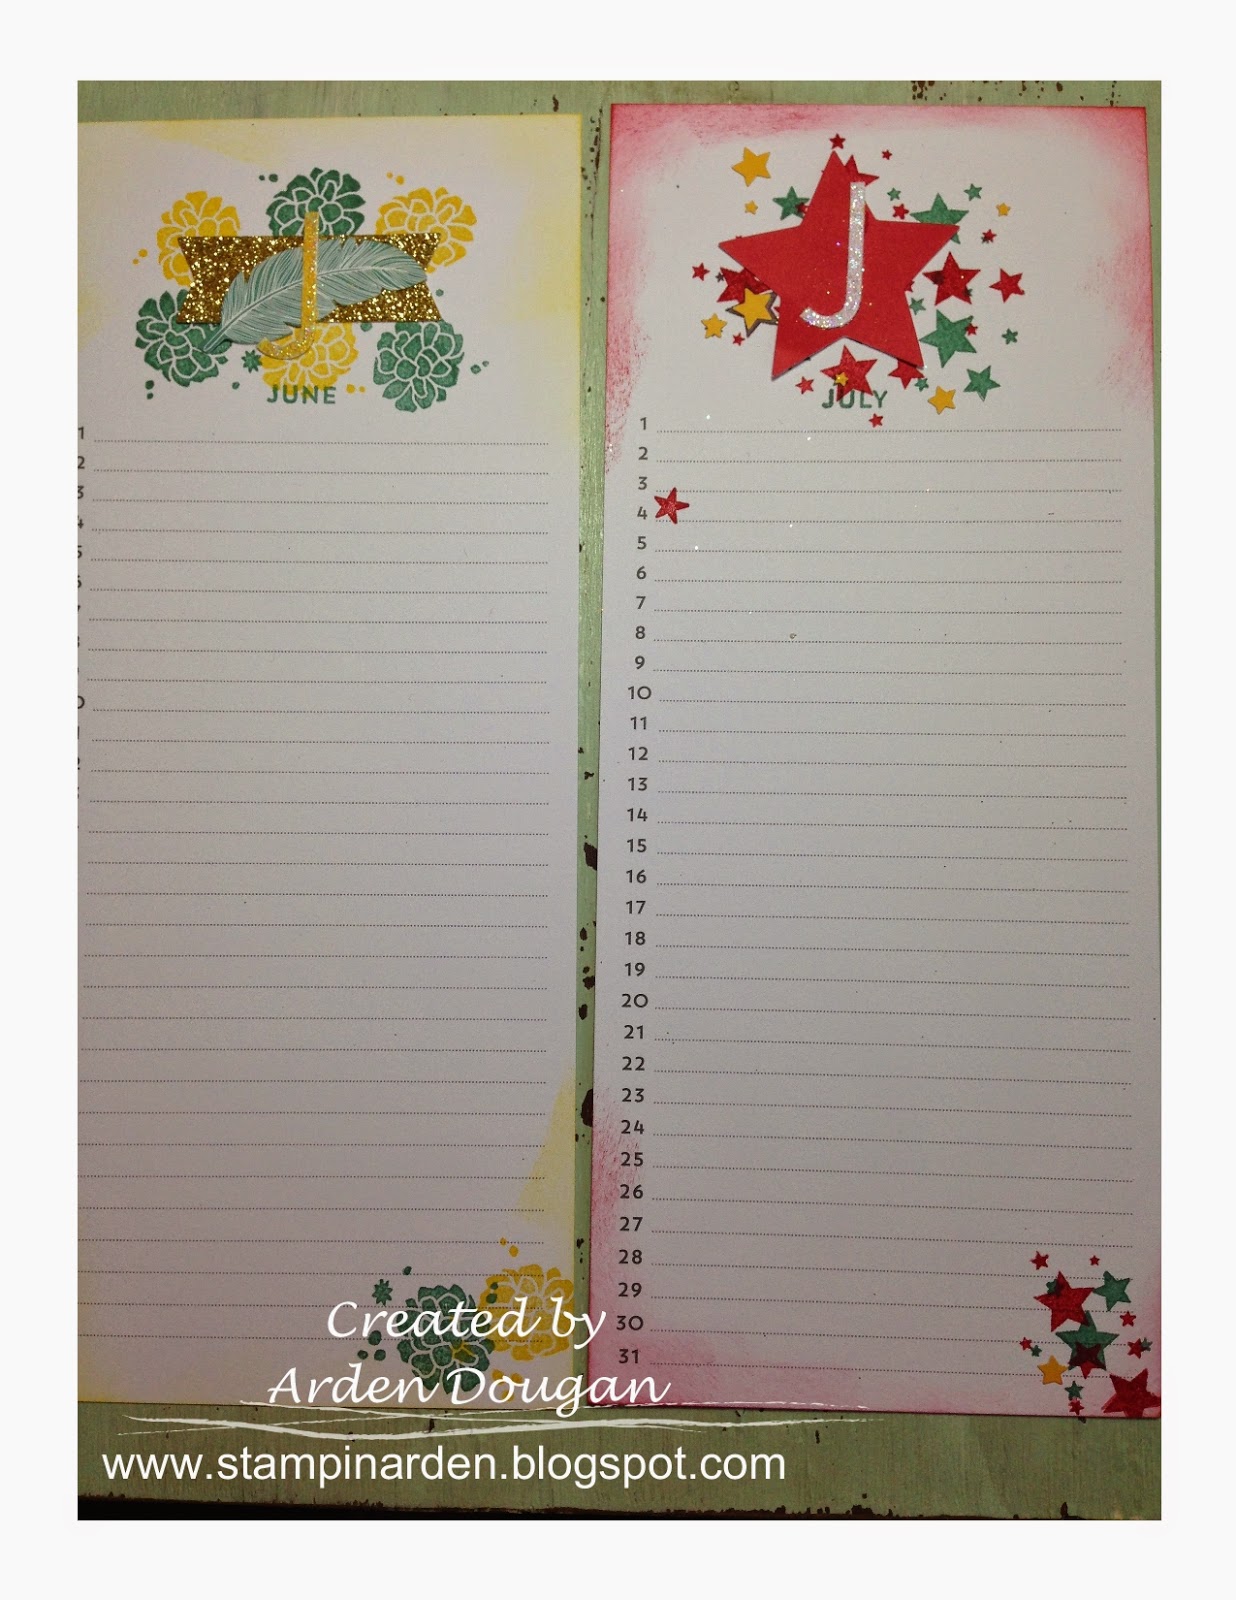
  1. Remember that old rhyme - 30 days hath September, April, June, and November? Start with putting sticky notes on each page with the month and number of days. Double check the number on your sticky and the card BEFORE you stamp on it!
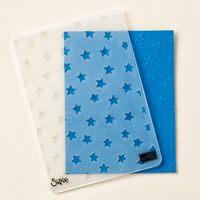
  2. Take off our letter, touching the back so it's not so sticky. Put lightly onto vellum. Now glitter or color them with Blendabilities. Two-way glue worked well to put the glitter on. Tombo attaches the letters to the glitter paper.
  3. Sponge the edges of your card before you glitter. Make sure all your paint dries before you glitter.
  4. When switching ink colors, close up the one you were using, wash off the stamp, then use another color (ask me how I know this).
  5. Clean your hands a lot!

Saturday, December 20, 2014

Perpetual Birthday Calendar Class


I like to get super organized in January and keeping track of birthdays is one of my New Year’s Resolutions! Join me to create a colorful perpetual birthday calendar that will keep you organized and brighten your day! It’s in its own gift box so you can also give it as a gift. The set is from our new Occasions Catalog! 

You will get the Perpetual Birthday Calendar Kit AND matching Stamp Set.  All supplies provided at the class. Class Fee $42.00 includes kit and stamp set! - (non-refundable, due upon registration and payable via cash or check or Paypal) RSVP by Wednesday, December 31. 


Tuesday, December 2, 2014

Dear Santa

I was playing with My Digital Studio last night and made this cute picture to remind you of the Holiday deadline to get your stamping supplies!


Tuesday, November 25, 2014

White Christmas

It's hard to make Christmas cards during a warm spell. My falling leaves call me. But I had to make this one. A take on the one in the Holiday Catalog on page 31 and inspired by two cards on Pinterest by Valerie Moody and Mary Howe. My son said the bear needed a red scarf because it reminds him of the Coca Cola ad..So I stole the scarf from the little snow man and put him on. Very fun card and maybe my new favorite for the year.


Sunday, November 9, 2014

November Stamp Camp

Here's a collage of this month's Stamp Camp:


These are not originals - all CASed from some very talented stampers.
1. Trees from Debbie Blake. This one used the new Festival of Trees set. The snow is from a Paper Pumpkin. Don't forget the Dazzling Diamonds glitter for the snow!

2. Thanks from Patty Bennett uses Seasonally Scattered with lots of sponging, masking the middle of thanks so it sort of glows. Blackberry Bliss is my new favorite color!

3. Snowflake originally from Christi Beck and adapted from Diana Gibbs. It uses the Endless Wishes Stamp Set with a little bling from my stash.

4. Santa - uses Santa Stache stamp set. This one was from a class I took (unknown stamper)

5. Paper Pumpkin tree - Sue Whitney designed this lighted Christmas tree that holds a tree light. It uses Ornamental Pine, Wondrous Wreath and assorted star punches.


and a Tip: How to make a Photo Collage - I'm trying out PicMonkey. The free version so far.


Monday, October 13, 2014

Framed Pumpkins

I made this great Pumpkin picture (actually last year!) CASE'd from someone - wish I knew her name). The pumpkins are made from oval punches and then were embossed using my collection of embossing folders (mostly retired) and lots of fall-colored papers on a vanilla base. . Finished it off with a striped ribbon.


Sunday, October 12, 2014

October Stamp Camp

It's been crazy here lately, but I wanted to share a picture from yesterday's Stamp Camp. One of my Campers sent me a collage of the items she made.


Thursday, September 4, 2014

Wondrous Wreath Vintage Christmas Card

I made this card for a Christmas Card swap. I really like how it turned out. My goal was to make it look kind of old and to have a vintage look to the card.  It showcases the new Wondrous Wreath set that is available now  in the Holiday catalog.

To get that old paper look, I stamped the Dictionary stamp on both sides: one side with Brown Sugar and the other with Soft Suede on vanilla paper. Then I crumpled the paper up, distressed the edges  and sponged it with Crumb Cake and stamped it with Gorgeous Grunge (Crumb Cake).The ribbon is tied with a string of burlap ribbon from the edges of the piece of burlap I put on the card. When you use the Big Shot on the Joy framelit, be sure and use wax paper between the die and the paper, then it comes right out!. You may still need your paper piercer to pry the tiny piece out. The wreath is a multi-step stamp. The trick with the stamp is to line up the tabs. I put the tab up top, then I could find it easily. I found this out the hard way. Then you can line up the die easily too.


Related Posts Plugin for WordPress, Blogger...